Baking Through the Alphabet: J is for Jalapeño Bacon Cheddar Pretzel Poppers

IMG_8106

I’ve spent the past hour figuring out how to start this post. So in a nutshell:

  • Happy Spring!
  • Happy spring quarter, AKA my last quarter of college
  • the working life is tiring, but I am grateful.
  • God is faithful. 1 Corinthians 1:9

Quite possibly the shortest introduction I’ve ever had. Maybe I’ll do it this way from now on. Hah, we shall see.

IMG_8097

  IMG_8084

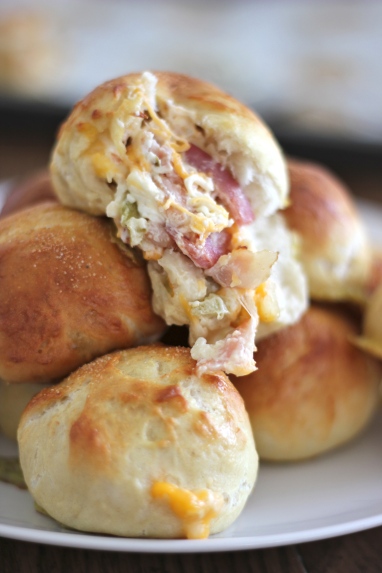
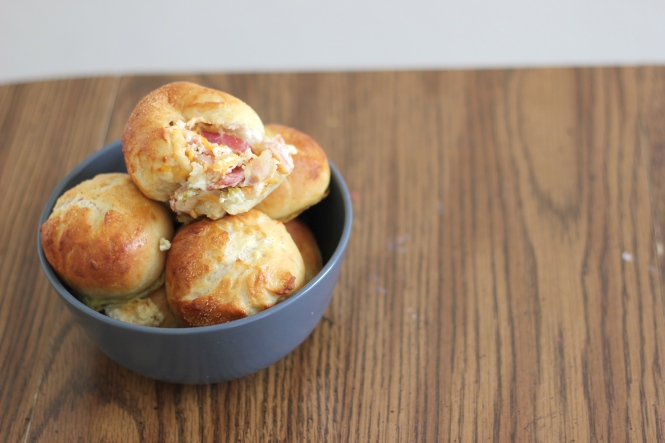
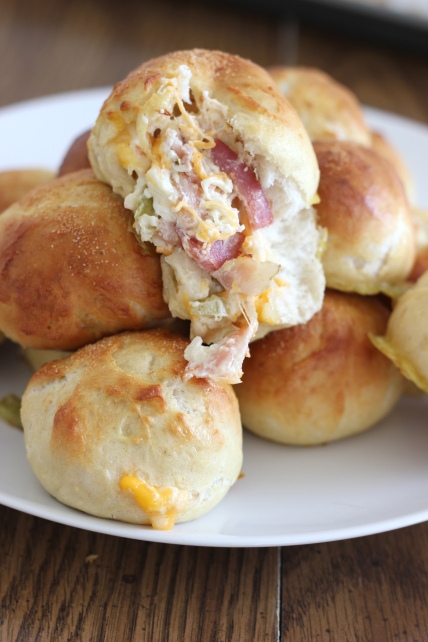
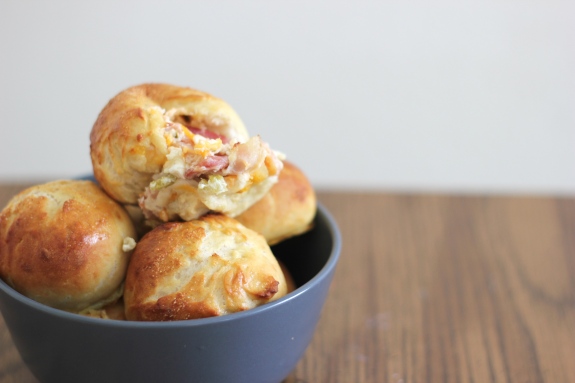
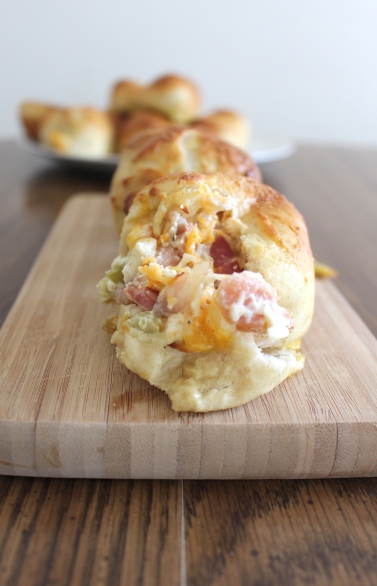
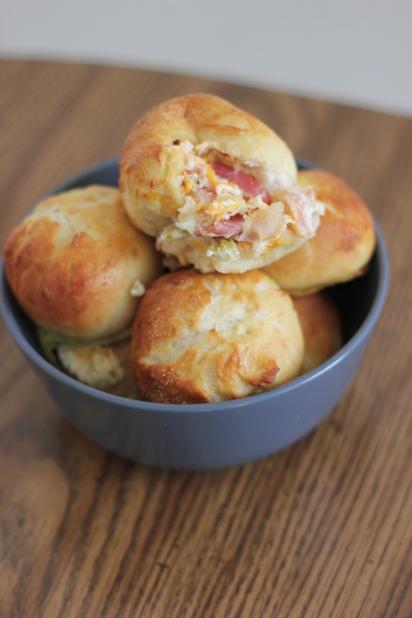
This one is a mouthful–jalapeño bacon cheddar pretzel poppers…or jalapeño bacon cheddar cream cheese pretzel balls….or jalapeño cheddar bacon cheese pretzels. I don’t know, and I’ll probably never have a consistent title for this one, but as long as it starts with a j, I’m ok.

IMG_8095

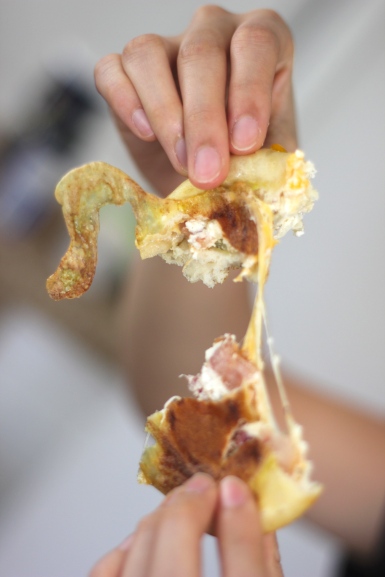
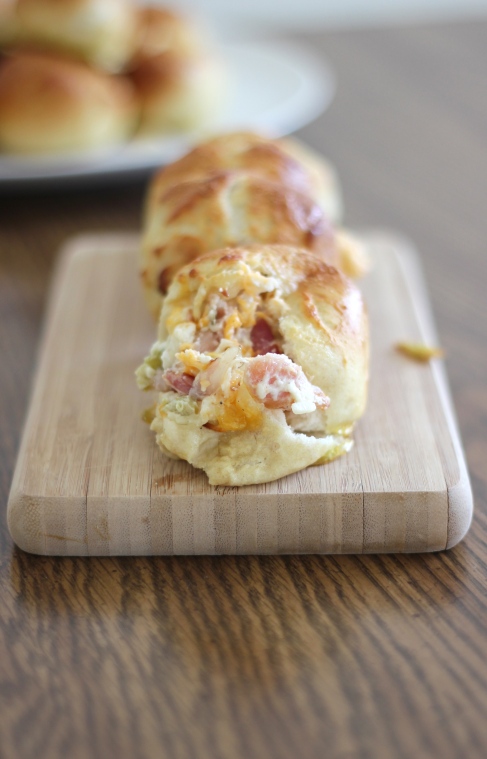
I started these off with the mindset that I wasn’t going to eat any because I’m not a fan of unsweetened cream cheese or jalapeños. That ended up failing, and I ate some from all four batches. (Side note, these pictures are actually from round 4 with Sam’s new lens. The other pictures were no bueno.) I didn’t think I’d like the cream cheese and jalapeño combo, but it worked, but probably because of everything else–the pretzel dough, the bacon, and the cheese. They taste the best when they’re hot out of the oven, but if not, just microwave it for a few seconds and they are good to go!

IMG_8105

One more thing, the dough from this recipe doesn’t require any rises. I know it sounds strange, but it works. Also, the original recipe called for beer in the dough. But being the 20-year-old I am…I just used water, and it still tasted perfectly fine (although I don’t have beer dough to compare it to..). Just saying, water works too.

IMG_8087

Jalapeño Bacon Cheddar Pretzel Poppers
Adapted from The Slow Roasted Italian
Makes about 36 pretzel poppers

Ingredients:

For the dough:
2 1/4 teaspoons instant yeast (1 packet)
12 ounces warm water, can also use milk or beer
2 tablespoons granulated sugar
3 1/2 cups all-purpose flour, plus more for dusting counter
1 teaspoon kosher salt, plus more for pretzel tops

For the filling:
8 ounces cream cheese, at room temperature
8 ounces shredded Mexican cheese blend (or cheddar cheese)
1 (4 ounce) can diced jalapeños
12 ounces bacon, cooked and chopped into bite size pieces
salt and pepper, to taste (optional)

To finish:
2 tablespoons baking soda
2 cups hot water
1 egg, beaten

Preheat oven to 450°. Line a baking sheet with parchment paper and set aside.

Stir together warm water, yeast and sugar. Add the flour and salt, and knead until the dough comes together in a ball. If the dough is too sticky to come together, add some water. The dough should be tacky, not sticky.

In a medium bowl, mix together both cheeses, the bacon, and jalapeños. It’s important for the cream cheese to be softened, otherwise you’ll have a hard time getting everything combined. Add optional salt and pepper (I added them because I was scared the filling would be too bland).

Sprinkle clean countertop with 1/4 cup flour. Place dough on floured countertop, and knead in the flour until it is no longer tacky. Form the dough into a ball. You want to get 36 balls out of this ball, and there are two ways: 1) eyeball it. or 2) Quarter the ball of dough. Roll each quarter into a fat log, and cut each log into 3 pieces. Roll each piece into a log, and cut that into 3 pieces. You should end up with 36 pieces in the end.

In a large bowl, add the hot water and baking soda (the water will react a little to the soda, don’t worry).

Roll each dough piece into a ball and flatten into a circle. Add a tablespoon of filling into the center of the dough circle, and pull the dough over the filling, pinching the edges closed. (it’s sort of like making dumplings, if you’ve done that before). Gently roll the dough into a ball. Place 3-4 stuffed dough balls (depending how big your bowl is) into the hot water mixture for a few seconds (or while you prepare the next few dough balls). Remove the dough balls from water and place onto the baking sheet. Repeat the process until all the dough pieces are stuffed and dunked in the baking soda/water mixture.

Place the dough balls onto the parchment paper. Make sure they aren’t touching. Brush each ball with egg wash and sprinkle with salt. I sprinkled mine with garlic salt!

Bake in preheated oven for 8-10 minutes, or until the tops are golden brown. Enjoy!

IMG_1555

IMG_8108

Until next time,

Soli deo Gloria, and happy reading, eating, and baking!
 

Baking Through the Alphabet: G is for Garlic Parmesan Bread Knots

IMG_1073

Oops, I lagged again! Forgive me, please.

IMG_1078

I’ve been super lazy about blogging (and pretty much everything else, actually). BUT I have been baking and the pictures are sitting on my laptop waiting to be edited.

IMG_1055

Actually…did I mention I got a job? I work full-time at the same place I was a student worker at, and I’m a part-time student for the next two quarters until I graduate in June (thanks 2014 for letting me crash your party!). I work 40 hours a week, and I am actually really enjoying the working life. I’m definitely not a big fan of studying or school, and I really like just being able to come home at 5 and…relax. I’m sure I have it easy now, because I know I’ll have many more responsibilities once I’m married, have kids, etc. But for now, I’m just going to enjoy it.

IMG_1069

I’m really thankful for my job, and sometimes I forget to remind myself how lucky I am to have this job. Everything for this job just fell into place…the timing worked out really well. I was mentioning to my boss (who is also a Christian and is a pastor’s wife) the other day how lucky I was to have randomly met my friend Heidi (who introduced me to the student position). I was telling her how lucky I was to have everything work out so smoothly. But she reminded me that it wasn’t pure luck, it was God who had everything planned out. It was my sovereign creator who had allowed everything to happen the way it did. And I am so thankful.

IMG_8322

[Look! My coworkers got my flowers for my new office :’) ]

IMG_1055

Anyways,

IMG_1057

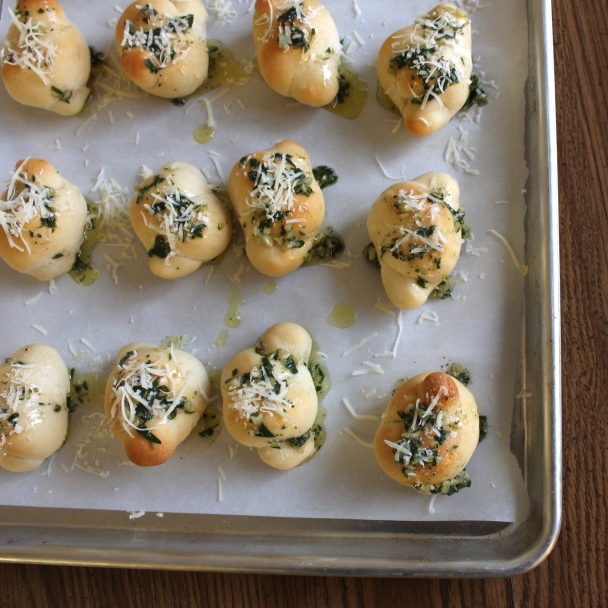
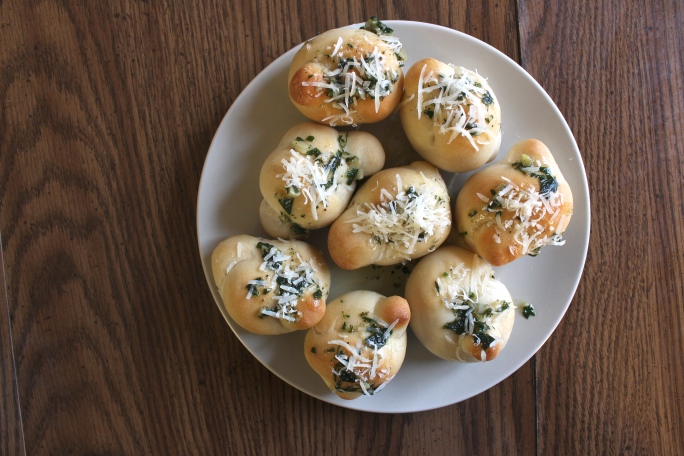
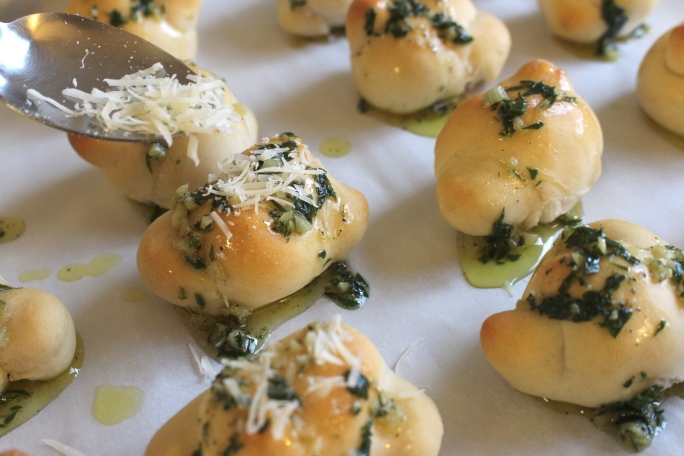
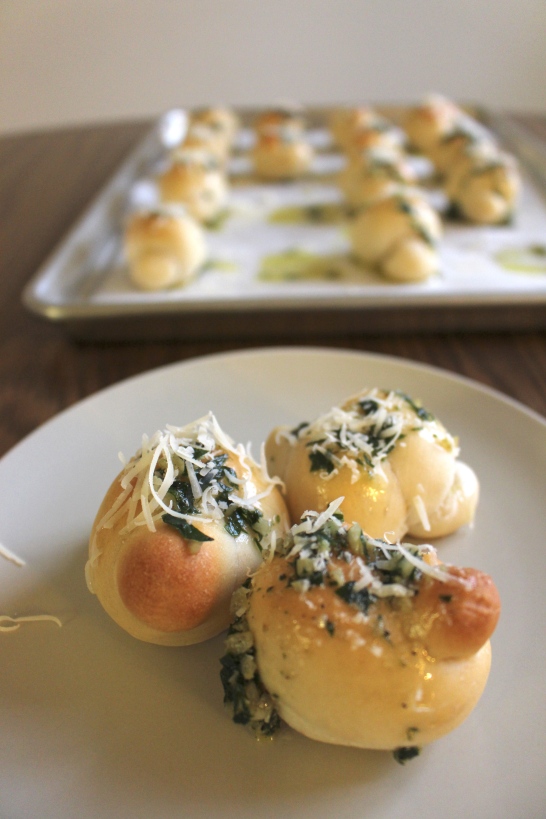
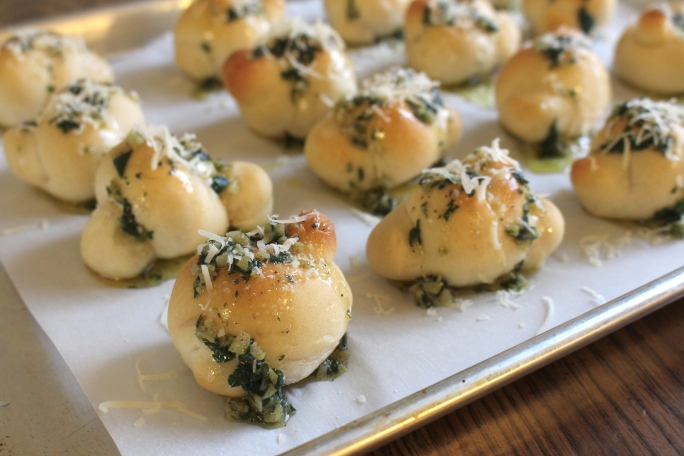
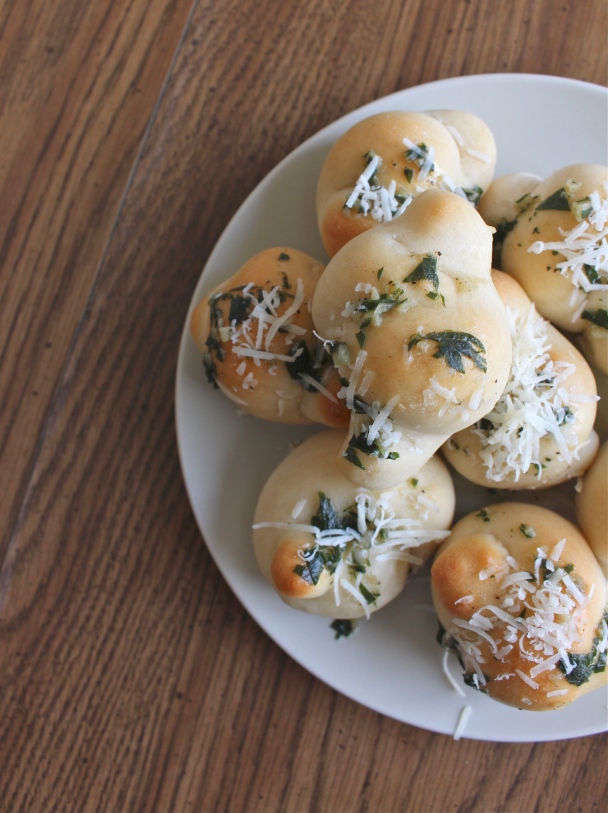
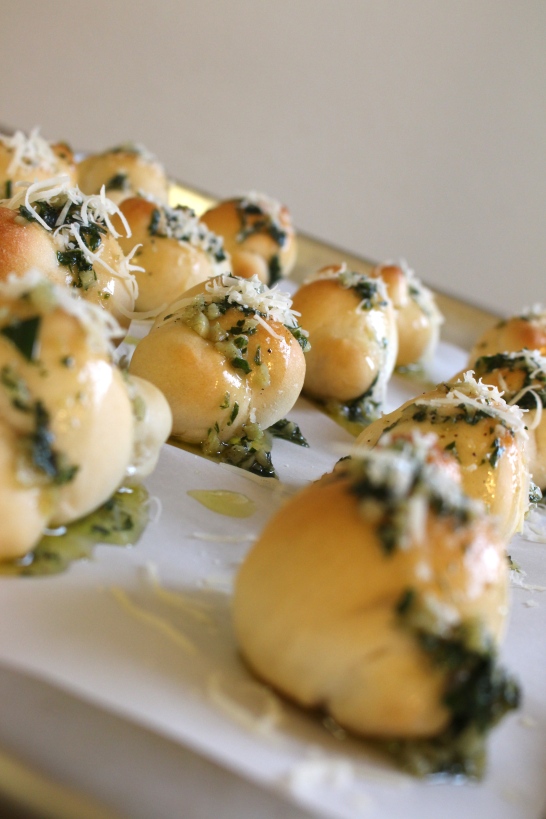
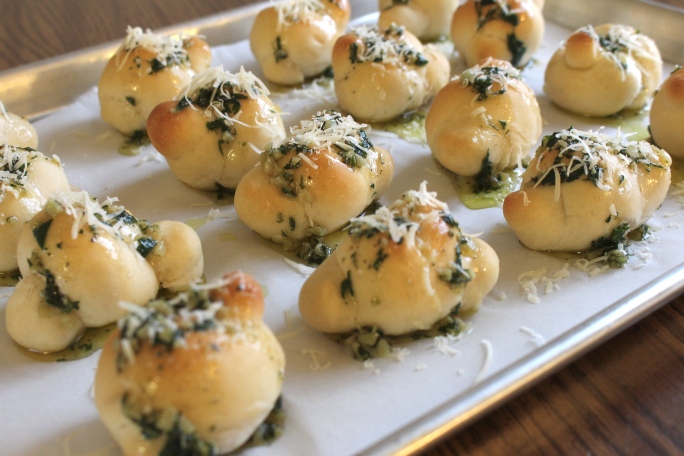
Garlic Parmesan Knots. Soft, bread-y knots topped with garlic, butter, fresh parsley, and parmesan cheese. It’s sooo yummy. It’s a little hard to tie the dough into knots, but after a few you get the hang of it. After you do that, you bake the knots, then you toss them in a garlic/butter/oil/parsley mixture and top them with freshly grated parmesan cheese. Eat them while they’re warm!

IMG_1090

Garlic Parmesan Bread Knots
Makes about 40 knots
Adapted From White on Rice Couple

Ingredients:

For the dough:
1 3/4 cup warm water
1/4 cup extra virgin olive oil
1 teaspoon salt
1 tablespoon sugar
1 1/2 tablespoons instant yeast
about 5 1/2 cups all-purpose flour

For the Parmesan-Garlic Coating:
1/4 cup unsalted butter, melted and slightly warm
1/4 cup extra virgin olive oil
5 cloves garlic, crushed
1/2 cup freshly grated Parmesan cheese
1/4 cup chopped Italian parsley
salt and pepper, to taste

1. To make the dough: Combine the warm water, olive oil, salt, sugar, and yeast in a large bowl. Add the flour and mix and knead to incorporate all the ingredients. Cover the bowl and set it in a warm spot to proof until doubled in volume.

2. If you want, you can chill the dough for a few hours to make it easier to handle. I didn’t have time so I skipped this step.

3. Prepare baking sheets by lining them with parchment paper.

4. For the knots, pinch off and weigh 1 oz (28g) balls of dough. Weighing helps keep the sizes consistent. Roll the dough ball back and forth to create an even rope about 6-inch long. Tie the rope into a knot (over, under, and through), and place the knots onto the lined sheets. Allow about 1 1/2-inches between each knot. If the dough gets too sticky, you can add a little flour. Be careful to not add too much flour or the knots will come out dry. Let the knots rise on the trays until doubled in size before baking.

5. Preheat the oven to 400° F. 

6. When the knots have doubled in size, bake the knots in the oven for about 12-15 minutes or until golden brown.

7. While the knots are baking, prepare the coating. Mix together the warm/hot butter, olive oil, parsley, and garlic (If you want a stronger garlic flavor, you can melt the butter with the olive oil and garlic in a small saucepan). Add salt and pepper to taste. Set aside.

8. When the knots are done and still warm, toss the knots with the garlic coating, then top with parmesan cheese. These taste best when warm, but you can always heat them up in the microwave for a few seconds if they get cold. Enjoy!

IMG_1061

IMG_1058

Until Next Time,

Soli Deo Gloria, and Happy reading, eating, and baking!
Gospel Pizza

P8038458

As usual…sorry for the hiatus! I’ve been swamped with church things, but I have to say, it is a JOY to serve our God with our church.

I’m going to go backwards, because the recipe I’m posting about today is from the first event. So the event before the event this past week. Am I confusing? Womp.

1)

IMG_4781

Summer Retreat! The theme was “Hating our sin, and loving our Savior,” and I had the pleasure of counseling the 10th (to-be 11th!) and 9th (to-be 10th, though there was only one) grade girls. To be honest, I was pretty nervous because it was my first time counseling–it’s a little sad that I didn’t think much of the theme while going up. I was more focused on how to serve these girls that I had forgotten that everything is ultimately in God’s hands! He is good. For me, retreat was a good reminder of how unworthy, and how gracious and Holy our God is! Our sin sucks. Period. But by God’s grace, we have our salvation! During retreat, Aaron (who has new music up on his site by the way!) led worship with some of the other students, and they sang Grace Alone 6 out of the 7 sessions. It was hard to follow at first, but by the end of the retreat I was able to follow. Even though it was hard, the lyrics are really descriptive about how it truly is by grace alone that we are saved. I love this part of the song:

So I stand in faith by grace and grace alone

I will run the race by grace and grace alone

I will slay my sin by grace and grace alone

I will reach the end by grace and grace alone

A blessed week indeed! And to my girls: if you’re reading this, thanks for letting me be your counselor this past retreat! Thanks for being open and for helping me understand how to better serve you all. Thank you for being patient with me, and I genuinely hope you were able to learn a lot from this retreat. Thanks for being blessings to me =).

2) Kids’ Arts Academy. (picture credits to Uncle Gaylan). This was basically a different outreach approach for the children’s ministry. Long story short, our church wanted to do something other than VBS, because every church down the street had a VBS program and VBS became more of a day care for many kids. We wanted to reach out to the unchurched through something different. Our children’s director came up with this idea, and I thought it was great! It was new, it was different than VBS that all the other churches were doing, and it was a new way to bring people to Christ. The Arts Academy was a day-long event for kids to learn different forms of arts. What was really great was that we also had a parenting workshop at the same time at church! So the parents could drop their kids off at the academy while they attended the parenting workshop.

Anyways, there were four stations: 3-D Arts, Rhythm & Movement, Fine Arts, and Culinary Arts, and the gospel was tied somehow into each station. I was in charge of administration and the culinary arts. On the Sunday after the arts academy, we displayed the artwork in the courtyard for the congregation to see. It was pretty neat!

P1060018 P1060017 P1060015

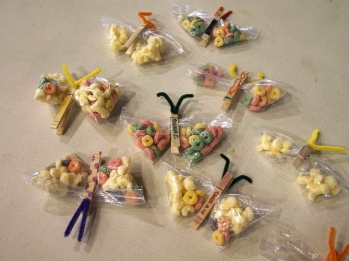
For my culinary station, we made butterfly snack bags. It’s easy–you take a wooden clothespin, glue on pipe cleaner antennas, decorate the clothespins, fill up a snack sized ziploc bag with snacks, then clip it right in the middle. This is supposed to represent how we are a new creation in Christ.

P8038462 P8038461

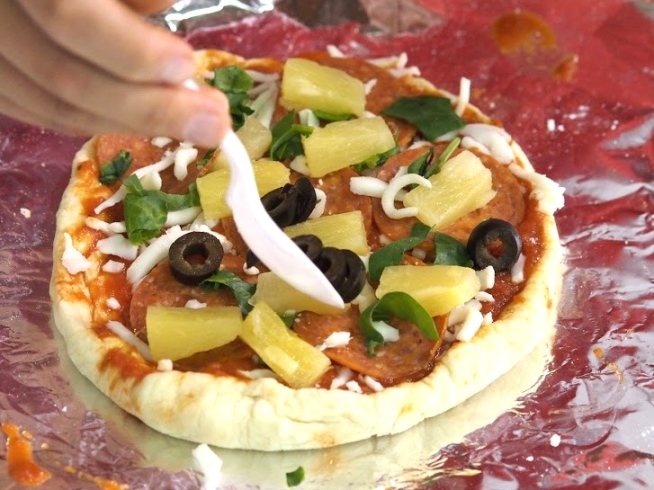
In addition to the butterfly bags, we made pizza. Or as I like to call it, Gospel Pizza! I am so thankful for my team, because I don’t think we would have been able to pull through without us bouncing ideas off each other. I wanted something that the kids would enjoy making, but at the same time teach them some basics about the culinary arts and tie in the gospel somehow. After our meeting, we ended up deciding to make the pizza dough, divide them into individual portions, and let the kids roll them out and top them off on their own. Then we would freeze the pizzas (as they moved through all the other stations throughout the day), then let the kids finish the pizzas off by baking them at home.

P1060014

We came up with five toppings–pineapples, olives, pepperoni, mozzarella cheese, and spinach–and each topping represented a different section of the gospel. The pineapples are gold, which represents Heaven. The olives are black, representing sin. Actually, it was funny–we figured that some kids wouldn’t like olives, so we just said “It’s okay, you’re not supposed to like sin!” The pepperoni is red, representing Jesus’ Blood. The mozzarella cheese is white, which represents purity. And lastly, spinach is green, representing growth. I put it all on a laminated half-sheet recipe card–recipe on the front, gospel on the back–because I also wanted the kids to be able to take something home that wouldn’t eventually rot/be eaten. Thanks Samantha Ho for designing! =)

All in all, the arts academy was a blessing! Super tiring, but totally worth it. For my group, we used over 35 pounds of bread flour and 12 pounds of mozzarella cheese–enough to make almost 200 9-inch pizzas. We had a total of 111 kids come out, and many of them were unchurched, so PRAISE GOD! May His will be done. Ya know, about two weeks before the arts academy, we only had about 50 kids signed up, and it was a little discouraging. But seriously, answered prayers! God is good.

We made a video to show the kids how to make the dough. Thanks Pamela for video-ing and editing!

I’m also attaching the picture of the recipe cards we made. If you do use them for your ministry, please let me know! I would love to hear how you are using this for your ministries =)

Gospel Pizza JPG

Until next time,

Soli Deo Gloria,

and Happy reading, eating, and baking!
Roasted Broccoli (and a belated Father’s Day!)

IMG_1932

I know I’m almost a month late, but happy belated Father’s Day!

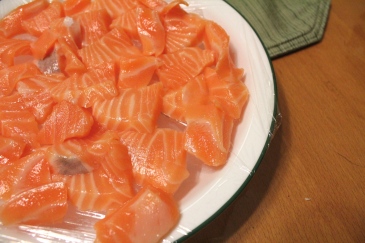
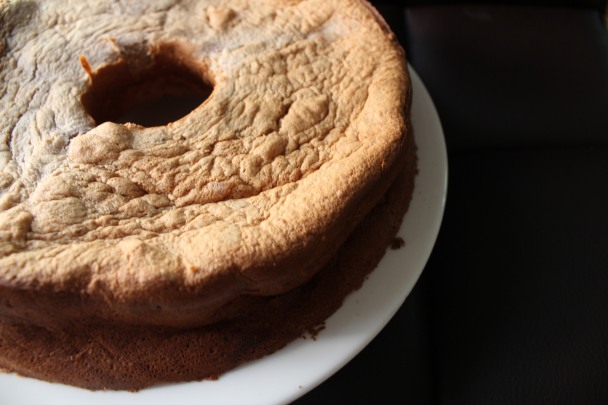
For Father’s day, my sister and I cooked again. I mean, it’s only fair right, since we cooked for Mother’s Day? Haha, but of course we did it out of love. This is what we made this time around–sashimi, stir fried cabbage, Korean short ribs, seafood soup (not pictured), roasted broccoli (to be pictured soon and again), and blueberry chiffon cake for dessert! Normally I’d blog about the dessert…but I wasn’t too happy with how the cake looked. The whole cake deflated! It did still taste good, but perhaps next time when my cake decides to stay up.

IMG_1958    IMG_1957 IMG_1951    IMG_1948 IMG_1922

My pops is quite the character. He’s definitely spiritually gifted in the area of music, and it’s encouraging to see him use that gift to serve God. He leads worship, conducts choirs, serves at church–all for the glory of God. Growing up, he was the one who picked me up from school, took me to Chuck E Cheese, and played catch with me. He was the one with all the stories, jokes, and news, even those false chain letter email warnings that he always believed to be true. He was always there (like my momma!) to wipe away my tears, to listen to my struggles, and to make me laugh. Thanks daddy for being the best! Thank you for your encouragement and all that you’ve done for me these past 19 years. Thank you for being the leader for our family, and I hope I can continue to be a better daughter to you. I would post a picture, but you don’t like it when I put pictures of you online. I hope you come across this some day! I love you =)

———

IMG_1918

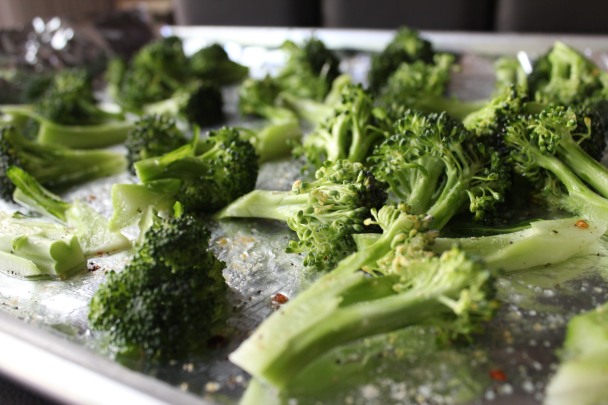
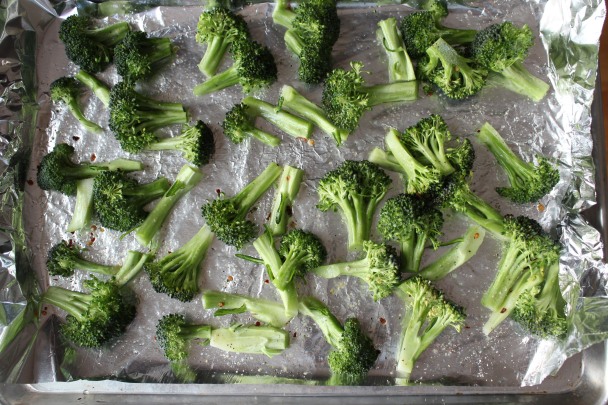
Roasted Broccoli. It sounded weird when my sister first gave me the recipe, but it actually came out to be quite tasty. A nice crisp and salty bite–I swear I had half the tray before it made it to the table. I normally don’t like roasting things because I’m always scared it’ll burn to a crisp because I’ll forget about it or something, or it’ll turn out dry and bland…but this wasn’t the case. You do have to be careful–even one minute overtime can cause some pieces to char. It’s a tasty and healthy snack, and I’m sure I’ll try it again!

IMG_1926

Roasted Broccoli
Serving Size: Depends
Adapted from Oh My Veggies

Ingredients:

Broccoli Florets
Oil
Seasonings
Salt

1. Preheat the oven to 400˚F. Line a baking sheet with foil, then spray with cooking spray.

2. Place the cleaned broccoli florets on the baking sheet and drizzle or spray with additional oil. Sprinkle with seasonings of choice, and salt. Be careful not to over-salt (is that a word?) them!

3. Bake for 20 minutes, stirring halfway through. These are best enjoyed warm!

IMG_1916

IMG_1929

EZ PZ RIGHT?! Told ya. I hope you all had a fantastic and blessed Father’s Day! And at the end of the day, we have a Father who reigns in Heaven, who unconditionally loved us by sending His son Jesus to die on the cross for us; He is Sovereign over our lives and is magnificent and Holy! Have a great week! =) From your favorite chefs (jk):

IMG_1968

(Look at my puny little cake in the background. HAHA)

Until next time,

Soli Deo Gloria, and Happy reading, eating, and baking!